So here’s the thing, I’m not that great at blogging. I can write things, but I don’t know how to do all the cool things like link other blogs or change fonts or script size. I don’t really know how to place pictures or videos.
But here’s the other thing. I want to be good at this new technological world we live in. I would love to be youtube savvy and post things to twitter and instagram. I want to use photoshop to make cool pictures and memes and make my own awesome music videos.
I just don’t know if I have the patience.
It makes me feel old and outdated.
NEWS BREAK: In this post I am going to attempt a few new things for me on this blog. I am going to attempt to link to another blog and I’m going to add pictures.
I know.
I had gone fabric shopping the other day to stock up on super awesome cheap fabric before leaving Korea and came home with some adorable baby boy minky* fabric. I hadn’t intended to make him a blanket, but when I saw the cute soft fabric, I couldn’t help myself. I mean it had helicopters on it. Not to mention it was priced at awesome Korean prices. I was sold.
So I decided today was the day. I went to Pinterest to find something. There they were, hundreds of pins on how to sew an easy DIY minky blanket. I learned that minky can be apparently very hard to work with and I should use this or that and do this and beware of that. None of it made any sense. I’m a beginner sewer. I take on projects and usually learn what I need to for that particular endeavor. Then I forget it. I needed a solid, fool proof, easy tutorial on how to make my baby boy a blanket.
*If you don’t know what minky–it’s ok–I didn’t either until I looked up how to make an (easy) baby blanket on pinterest. (at least I’m on one social networking site besides Facebook).
I found that here
Not too bad of a tutorial, so here is how MY blanket turned out:
Step #1: Take right sides of material and lay them down facing each other. (so wrong sides of the material are both facing out)

Step#2: Trim fabric so it’s all the same length and width. Or you could just buy fabric that comes that way–here in Korea, they just cut it whatever. I went with roughly 30 width/45 length. 
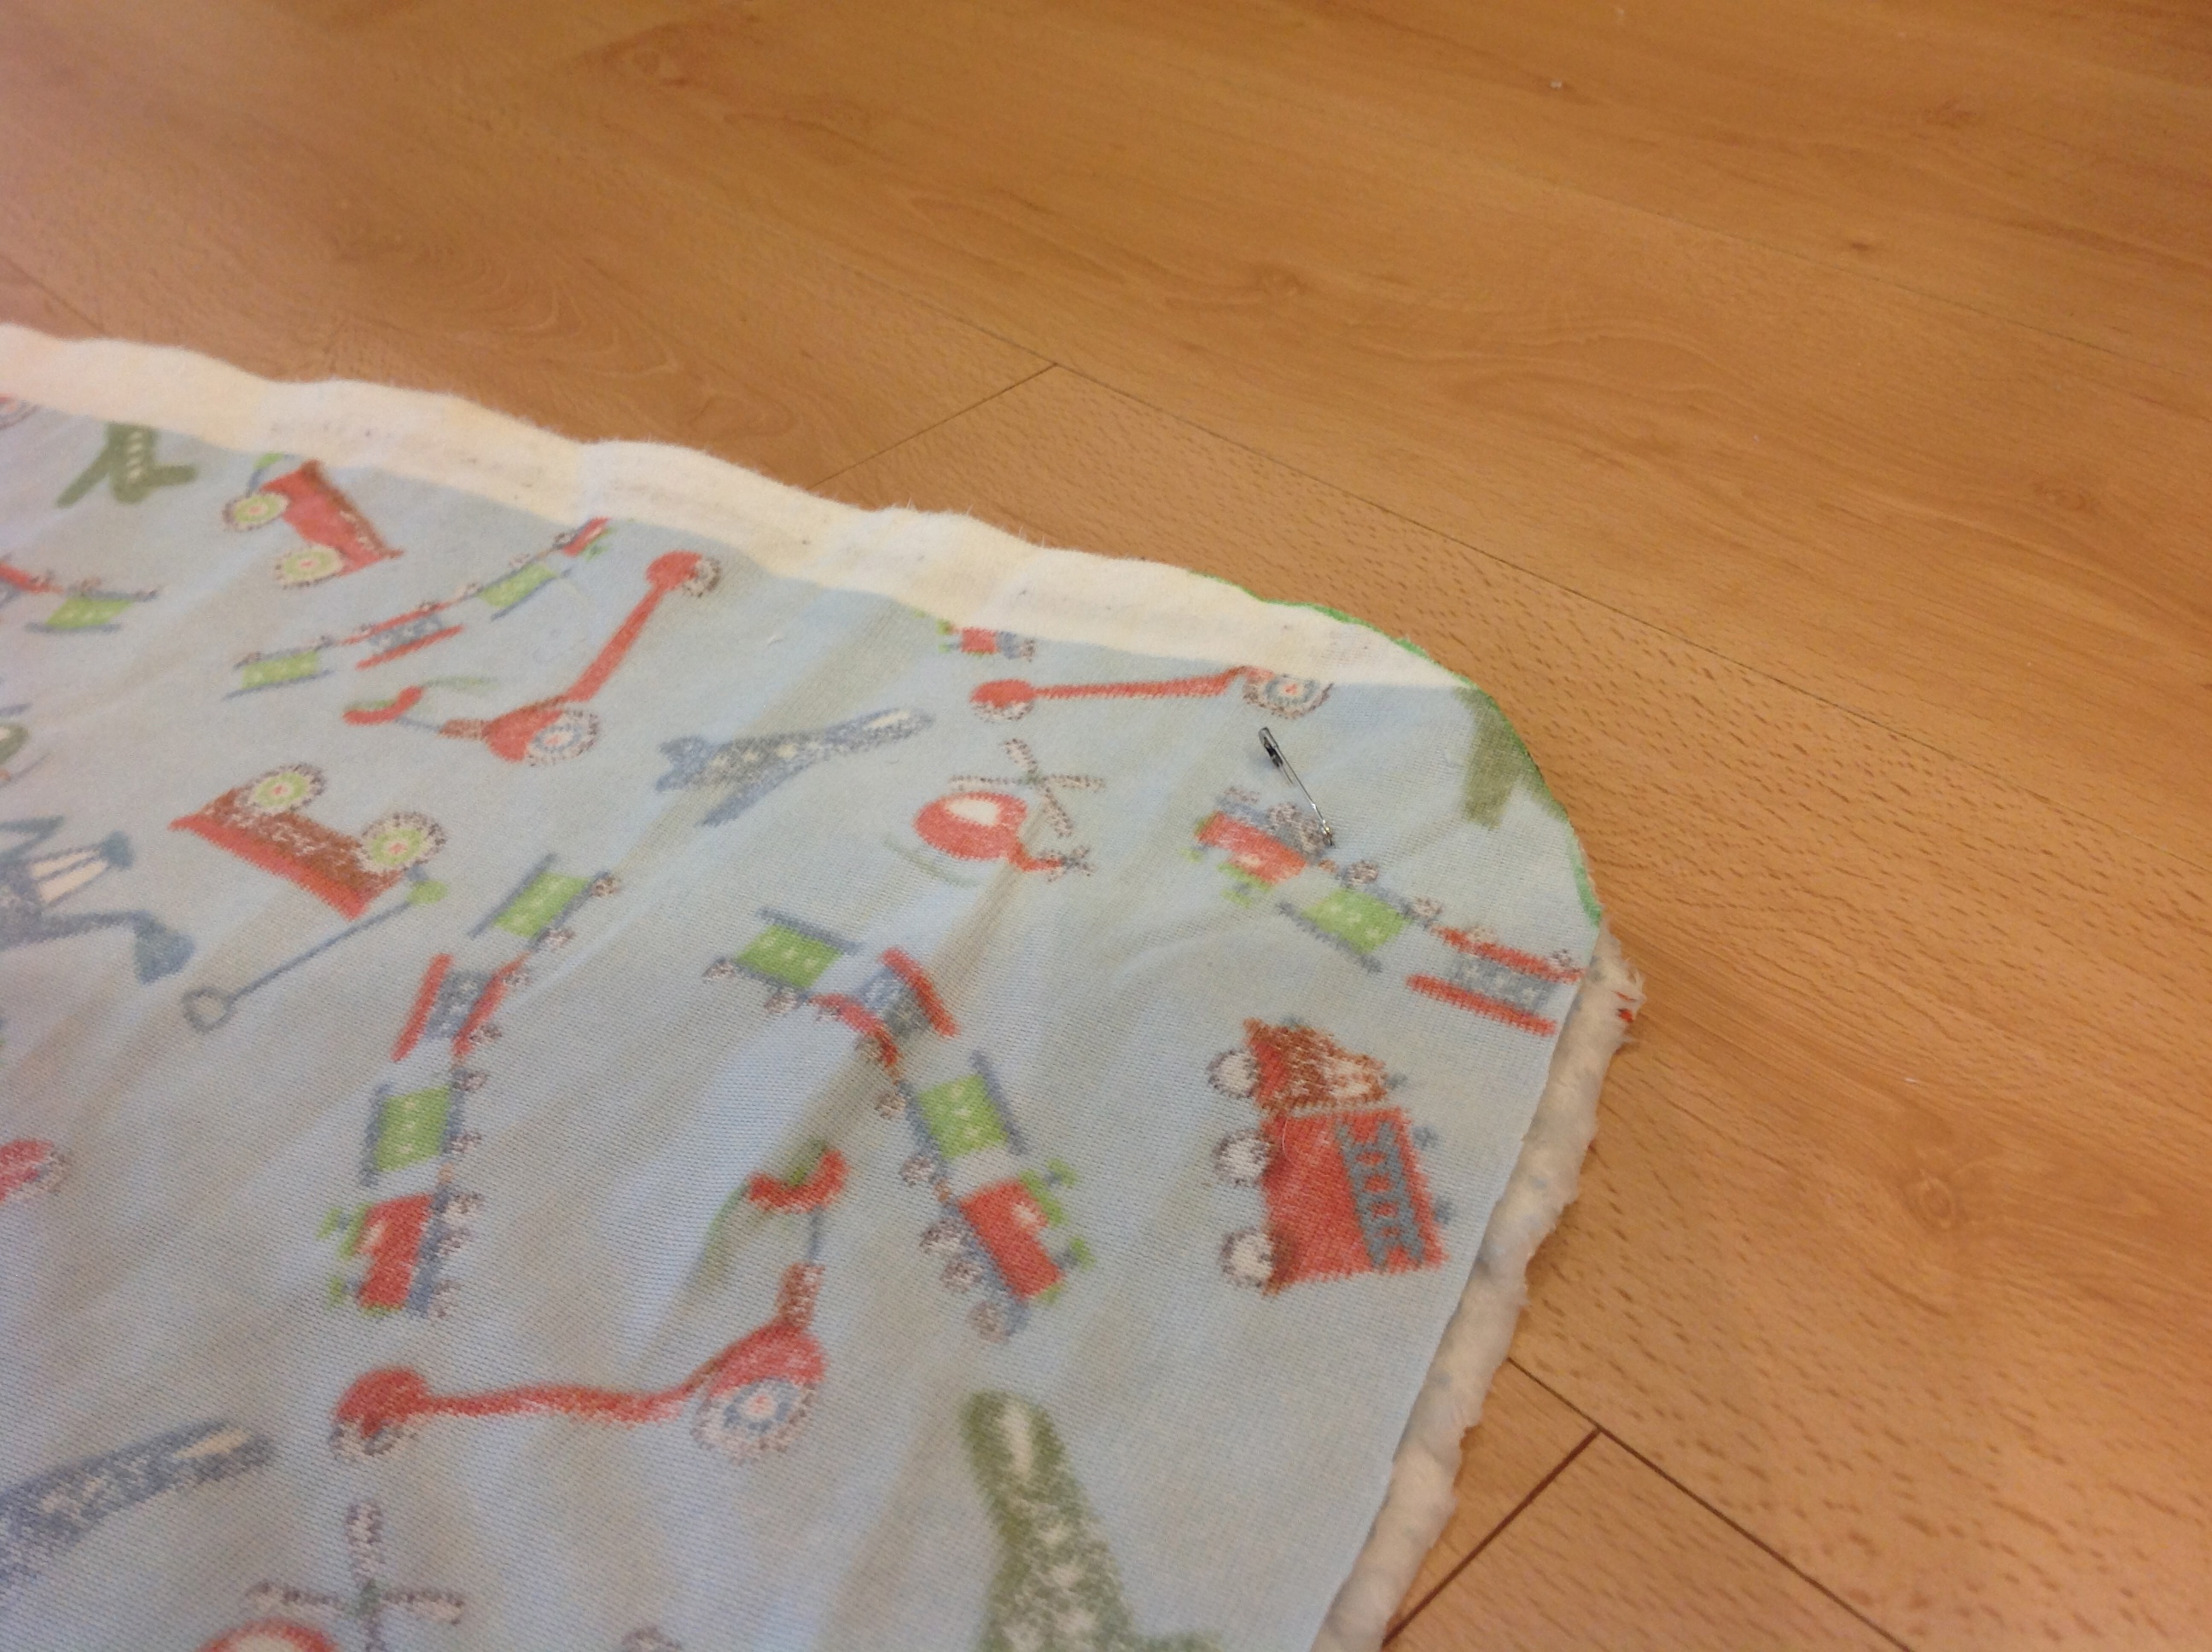
Step #3: Pin the fabric together. Because I only had those pins that have no head on it, I chose to go with safety pins so that I could find them easier. 
Step#4: Pin all around the fabric–I pinned inside the middle as well, since minky is SLIPPERY.

Step #5 :Take a plate/bowl and round out the edges. Because all our stuff is packed up, we only had paper plates and bowls. I chose the one that had the best shape for how big the blanket was. 
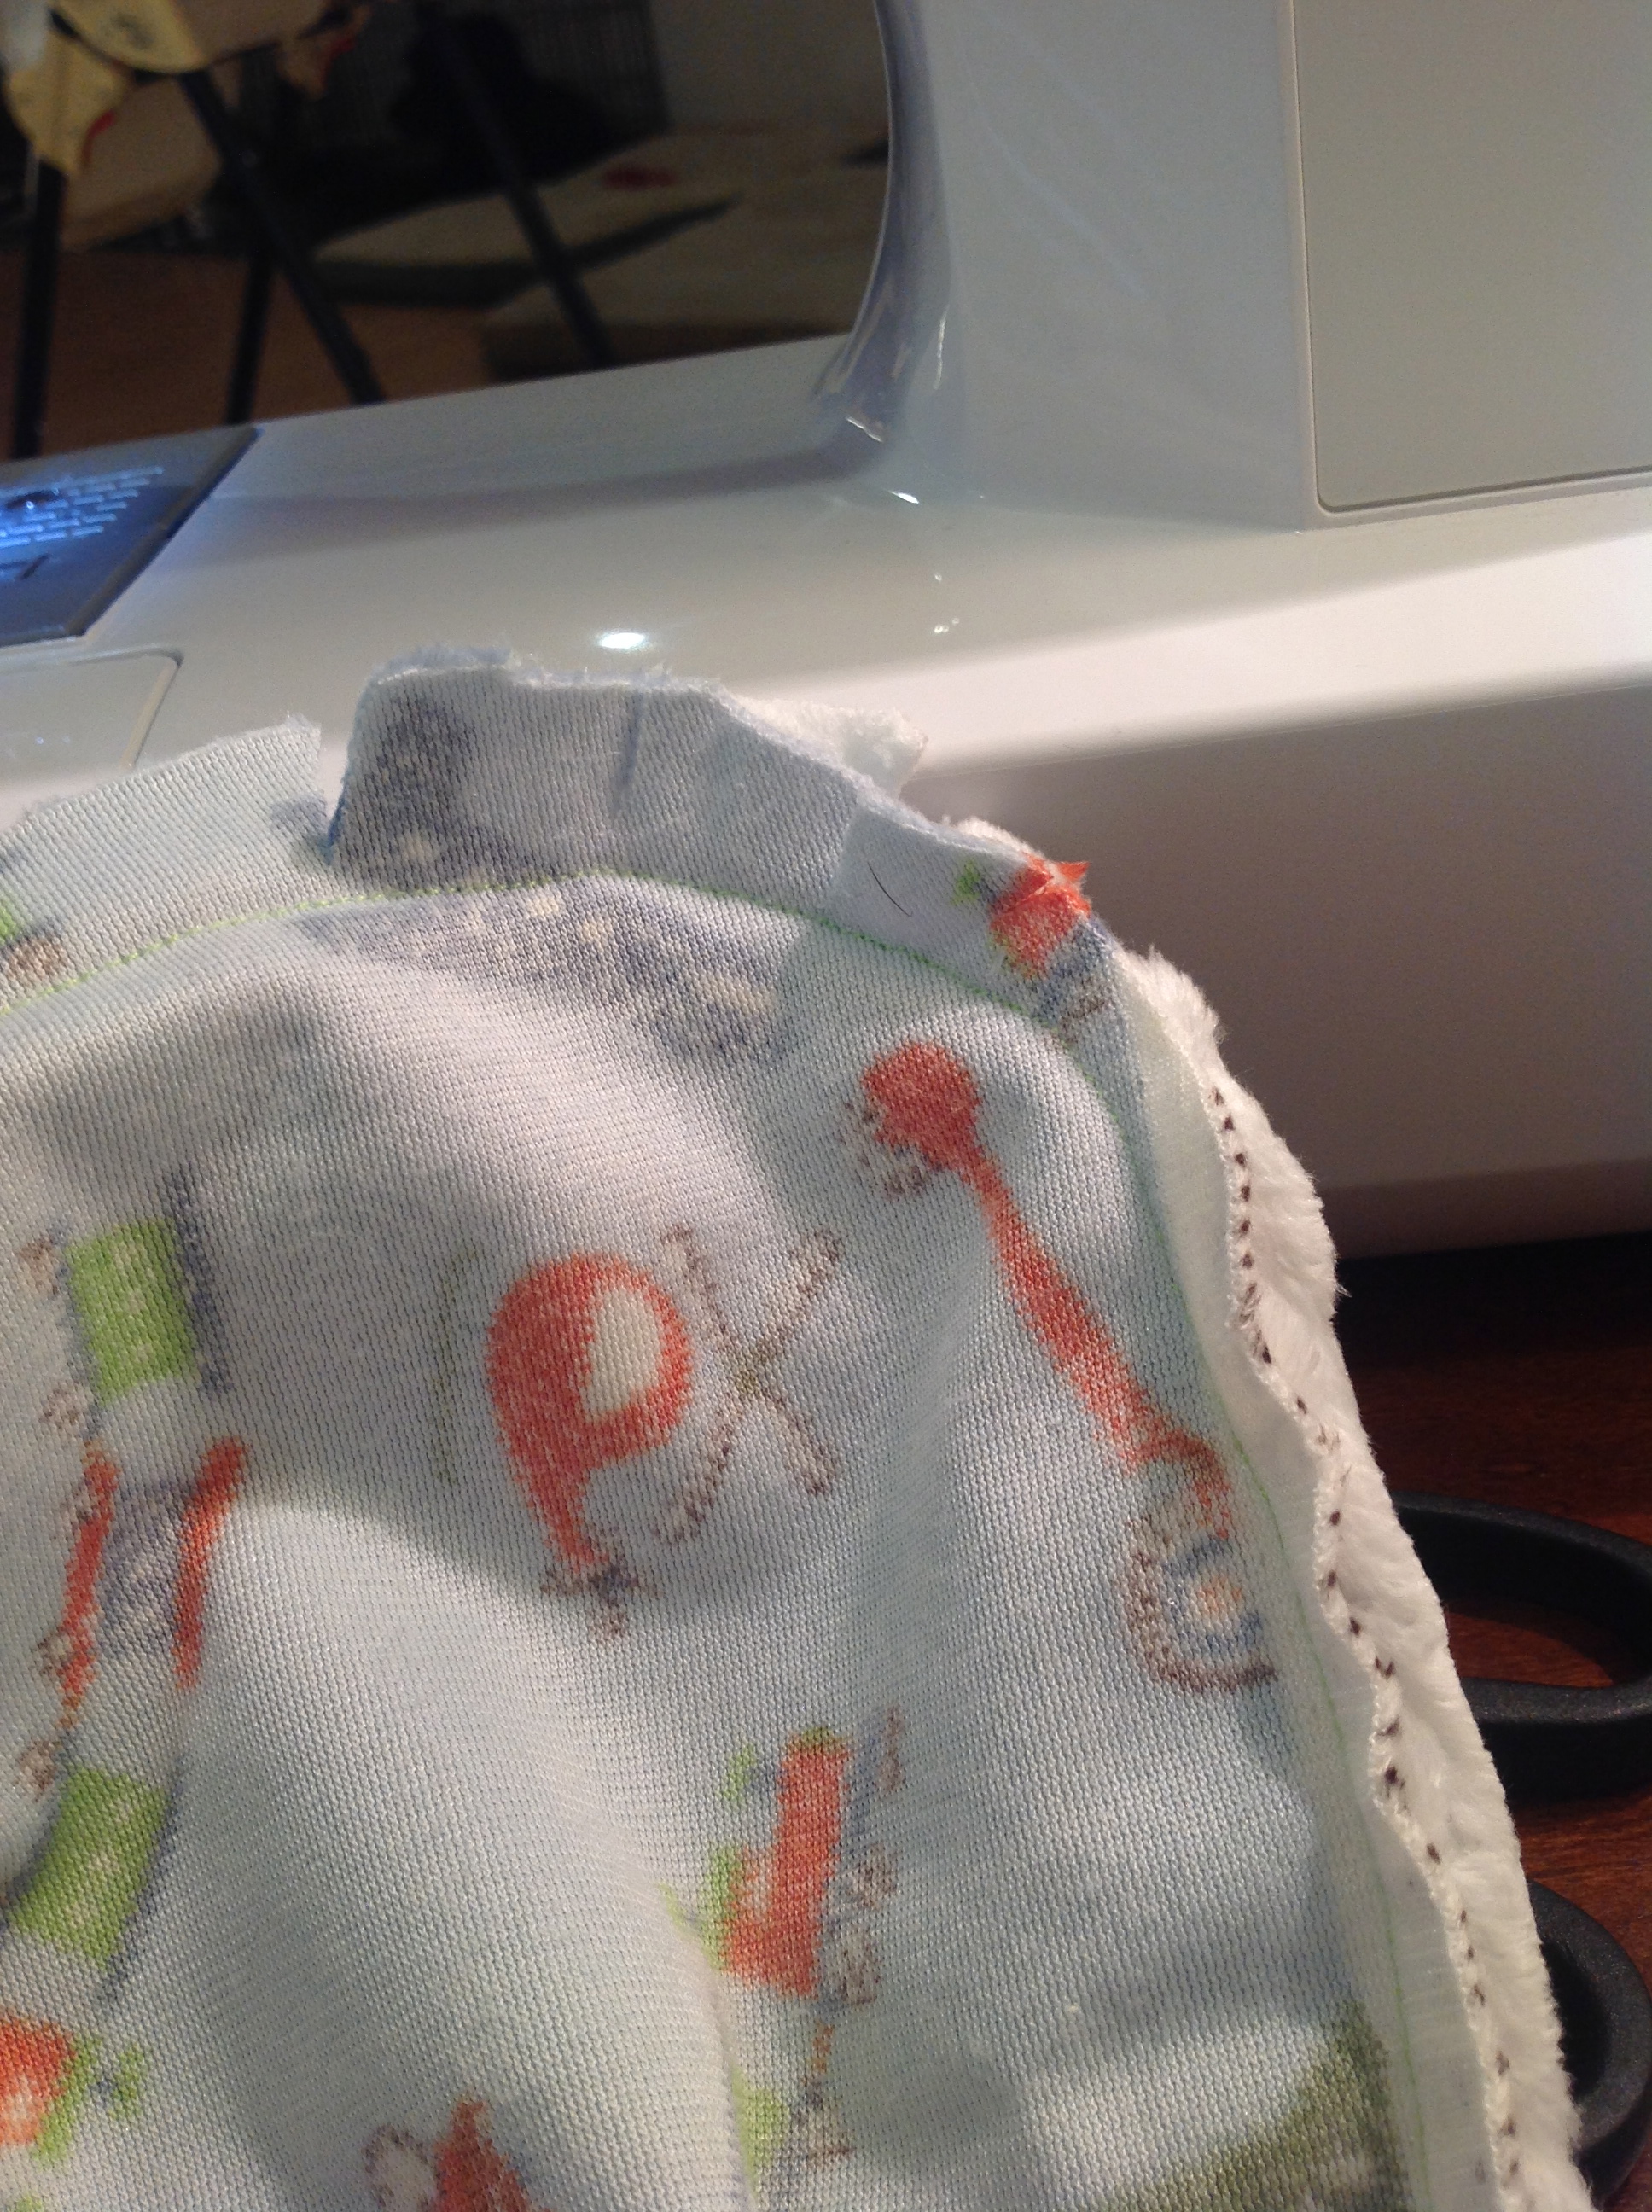
Step #6: Now you are ready to sew. Sew 1/2 inch around the entire blanket (roughly–I’m not exactly sure what I did). ***Make sure to leave a small open slit that you DO NOT SEW so you can flip your blanket right side out. I marked mine with different facing pins–but I forgot to take a picture.

Step # 7: Cut the edges around the corners, but do not cut the seam!
Step #8: Once your blanket is all done, go back where you DIDN’T sew and turn your blanket right sides out.


Step #9: Once you’ve got your blanket right sides out, fold down the area that hasn’t been sewn and pin it. 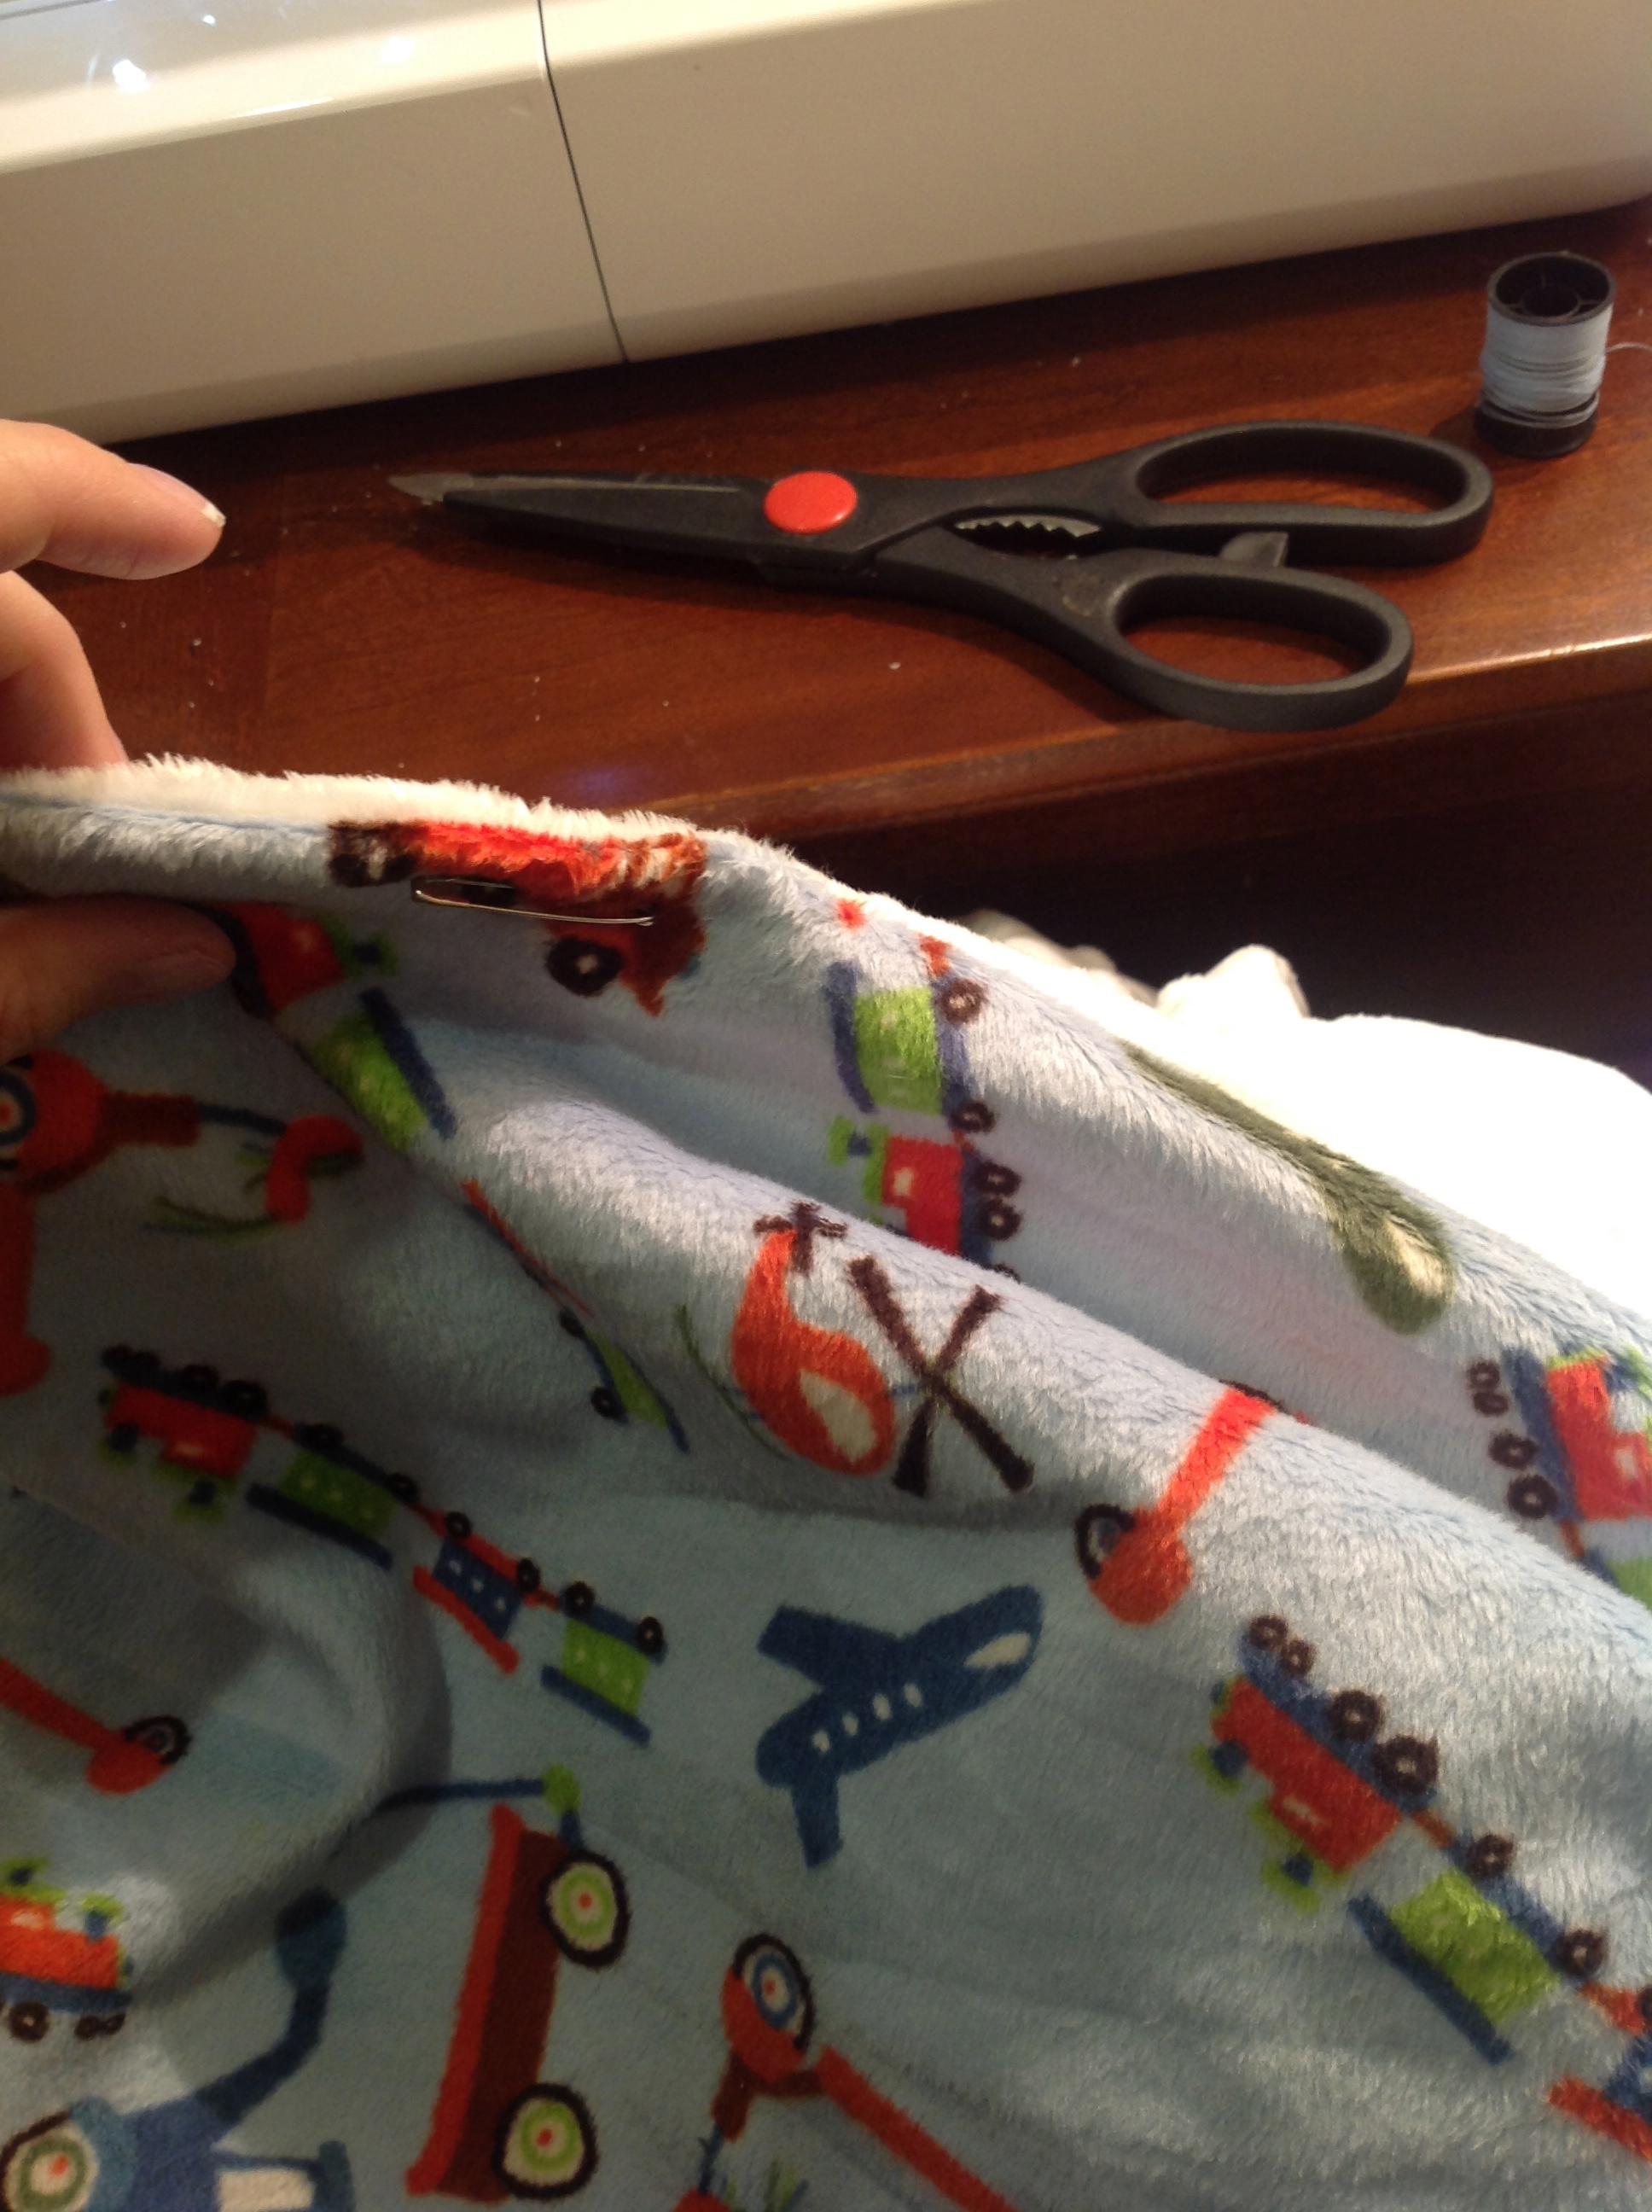 Again, I used safety pins and a lot of them!

Step #10: Now sew a top stitch, to help create an edge around the blanket. (Audrey wanted to help). 

All Done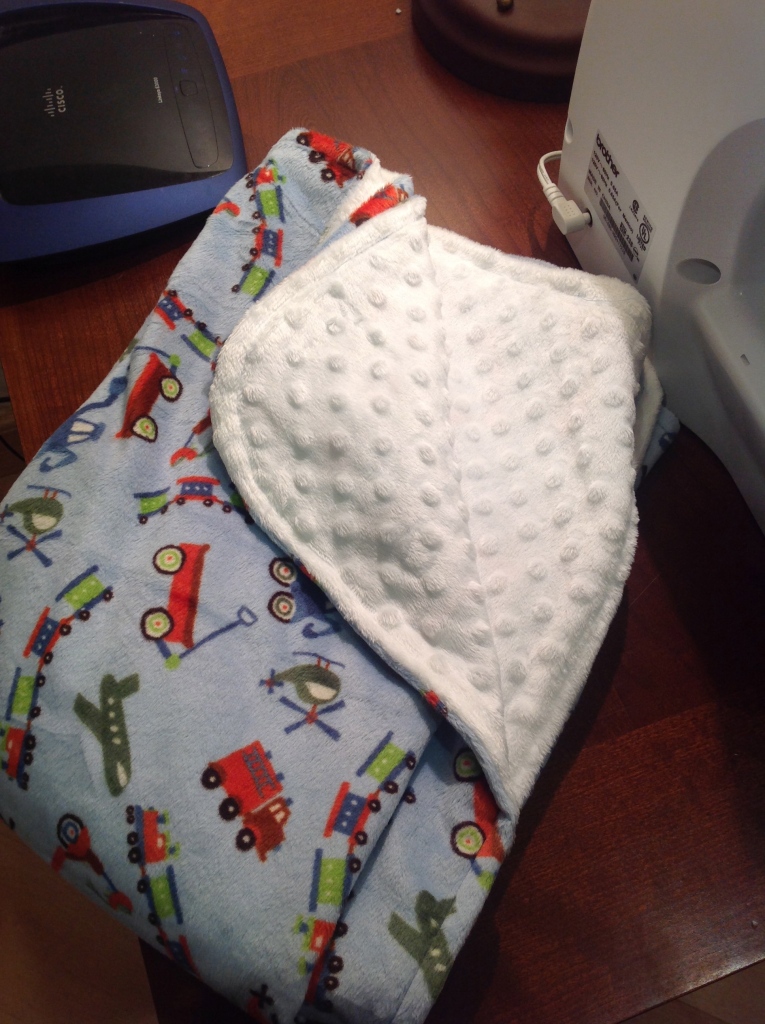

I must say, I was pretty proud of how it turned out. I can’t wait to snuggle our little boy in this blanket. He’s going to love it!

You did it!!!!! And it is perfect!
LikeLike
That looks great Sara! Good job Audrey for helping Mamma! 🙂
LikeLike
I made a blanket out of that exact fabric! Clark loves it!
LikeLike
I’m so glad to hear that!!! I love this material. I want a blanket out of it.
LikeLike